How to Create Custom Patterns in Photoshop
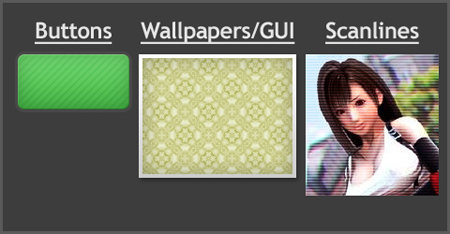
Most of the time, default Adobe Photoshop’s patterns just could not satisfied designers needs. Minutes later you will be creating your own custom pattern for buttons, interfaces, photo scan-lines, etc.
1. Create a pattern image
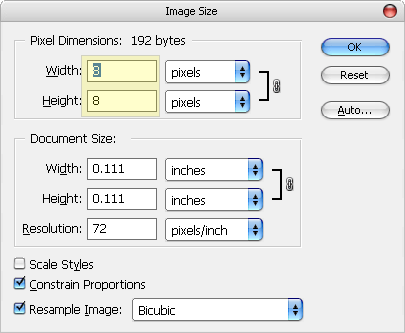
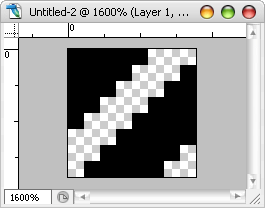
Fire up a new canvas. It should be small (in terms of height x width). Image you are creating here will duplicate itself to form your pattern in the later stage. For this example, I’ll be using 8×8 pixel canvas, zoomed them up and create a small pattern like this.
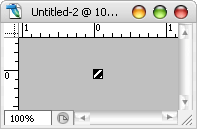
Pattern at 100% view
Pattern at 1600% view
2. Define as pattern
Let’s define it as pattern so it can be used at anytime. Select Edit ->Define Pattern.
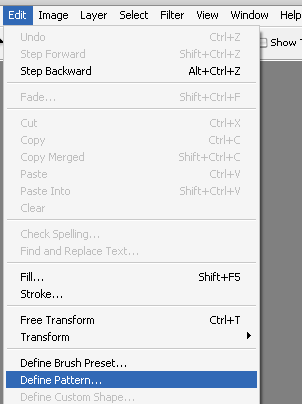
Rename it to something you can remember (especially useful when you have a lot of custom patterns in future). I’ll call it Stripe5x because it will give me a stripe effect and 5px is how thick each stripes are. Click OK and you’ve just have your custom pattern defined.

3. Using custom pattern
Create a new canvas to try out the custom pattern. With your new canvas selected, Select Edit -> Fill.
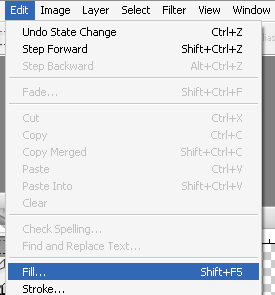
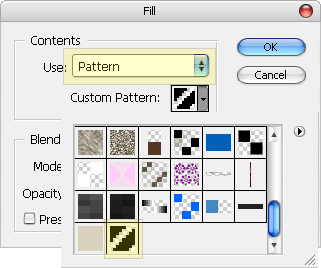
In the Fill dialog box, select Pattern from the dropdown, find the pattern you’ve just created in Custom Pattern and click OK.
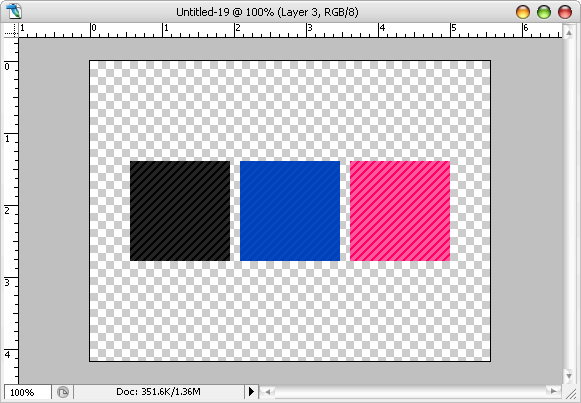
The canvas will now be filled with pattern you’ve just created. Tweak the colors and it should look fine.
Misc: Alternative way to call custom pattern
Another way to call up the custom pattern. (Right Click) layer name -> Blending Options

Check Pattern Overlay, select your pattern
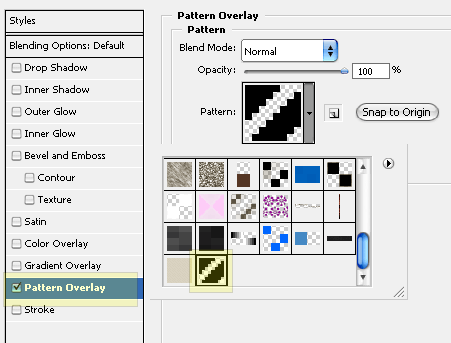
Misc – Delete custom pattern
Anywhere in the pattern selection box, (Right Click), choose Delete.
0 nhận xét:
Đăng nhận xét