Create Carbon Fibre Pattern in Photoshop

I’m pretty sure you know what carbon fibres are. Here’s how you can create a carbon fibre pattern and use them in any designs, all with Photoshop.
1. Create Carbon Fibre

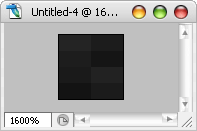
Create a new canvas with the size of 4×4 px, zoomed it to the max so you can easily fill the colors and insert the colors exactly like the color table below.
| #242424 | #1C1C1C |
| #1D1D1D | #151515 |
| #1A1A1A | #222222 |
| #131313 | #1B1B1B |
2. Define as Pattern

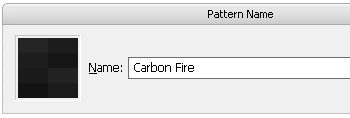
Click Edit -> Define Pattern and give it a pattern name. (Carbon Fibre for instance). Click OK to save it as a pattern.
3. Using Carbon Fibre Pattern

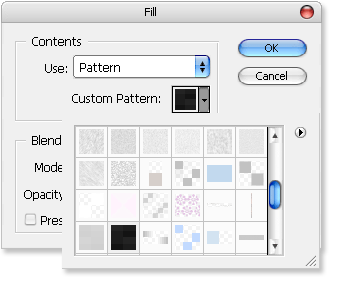
To test the carbon fibre pattern, create a new canvas with bigger size, 500x400px would be good. Click on Edit -> Fill (or Shift + F5), choose the carbon fibre pattern created just now, click OK and fill the section up. Here’s how your carbon fibre background should looks like:

Learn more about creating custom pattern with Photoshop.
0 nhận xét:
Đăng nhận xét