Photoshop Tutorial: Web 2.0 Badge That Flips Back
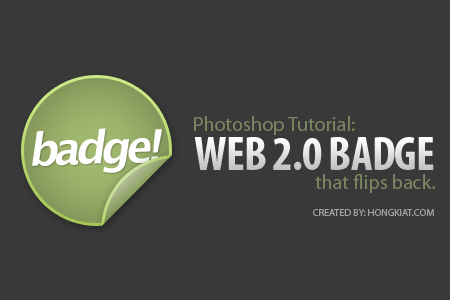
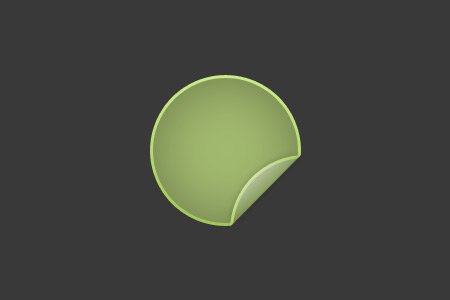
If you think the seal-shape Web 2.0 badges is too commonly used throughout the internet, here’s something for a change – the rounded flip-back badge. It is not as widely adapted as the seal shape badge but definitely cool. Full tutorial after jump.
Step 1
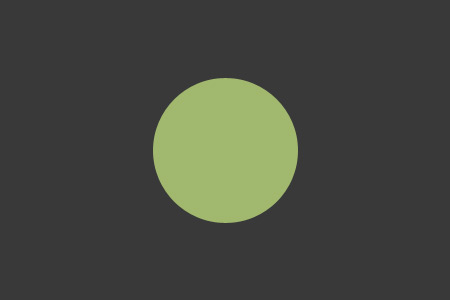
Go to Photoshop, create a new document at the size of 450 x 300 pixels. Start off with a dark background (#393939). Create a new layer, draw a circle (#a1b86e) in the middle.
Step 2
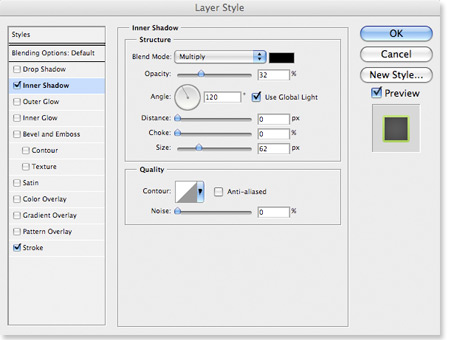
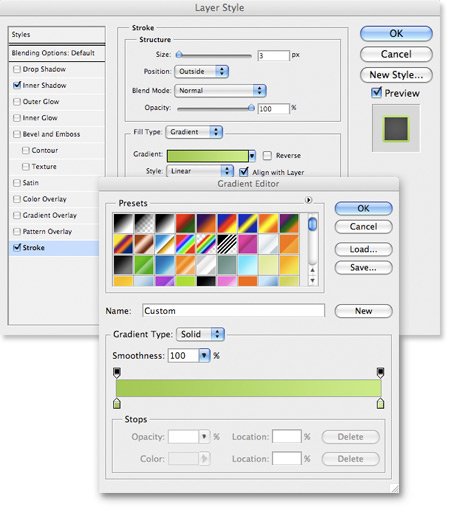
Select the circle layer, right click -> Blending Options or double click to launch the Layer Styles.
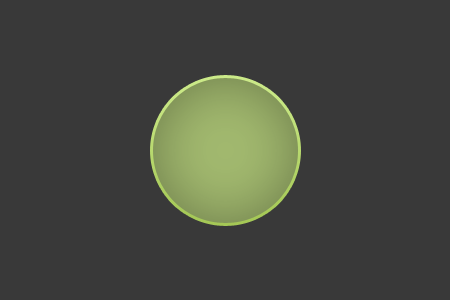
- In Inner Shadow, set Opacity to 32%, Distance to 0px; Choke to 0% and Size to 62px;
- In Stroke, Change Fill Type to Gradient, and insert the following color:
- #a4c855 at Location 0%
- #ccea89 at Location 100%
Step 3
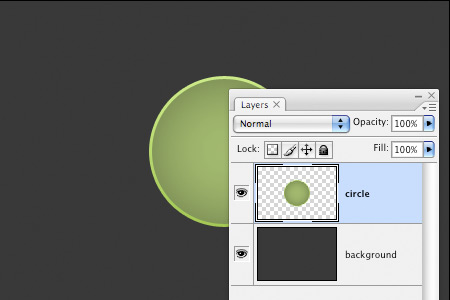
Create a new layer on top of the circle layer. Hold Command/Control key, select both layers (the one you’ve created and the circle layer), right-click -> Merge Layers.
Step 4
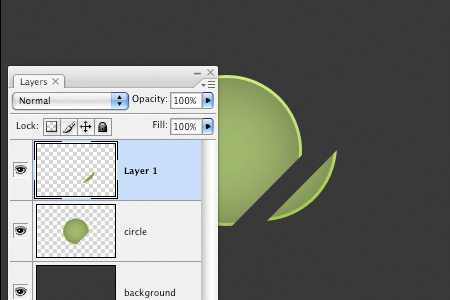
Select the Polygonal Lasso Tool. Select a small piece of the edge, cut it (Edit -> Cut or Command/Control X) and paste it back (Edit -> Paste or Command/Control V) in a new layer.
Step 5
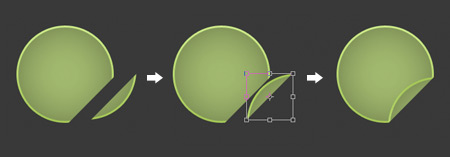
Select the Rectangular Marquee Tool. On the smaller piece of circle, right-click -> Free Transform or Command/Control T. Rotate and place it just nice at the edge of the bigger piece of circle.
Step 6
Select the smaller circle layer, right click -> Blending Options or double click to launch the Layer Styles.
- In Drop Shadow, set Opacity to 21%, Distance to 0px, Spread to 0%, Size to 8px;
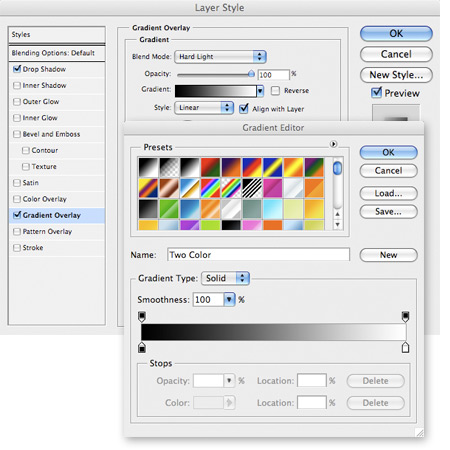
- In Gradient Overlay, set Blend Mode to Hard Light, Opacity to 100%. Insert the following gradient settings:
- #000000 at Location 0%
- #FFFFFF at Location 100%
Change the Angle to 131.

Step 7
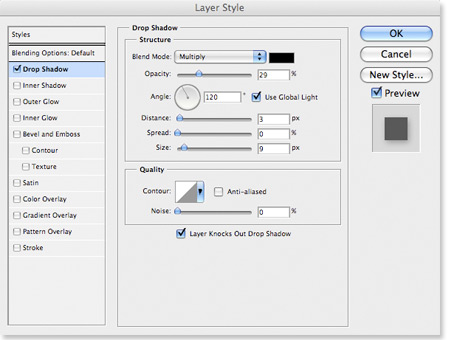
Let’s give the bigger piece of circle some shadow. Right click -> Blending Options or double click to launch the Layer Styles.
- In Drop Shadow, set Opacity to 29%, Distance at 3px; Spread at 0%, Size at 9px.

Step 8
Your badge is almost ready. Insert a text layer in between the circle layers. Hide little bit of the text underneath the flip to bring out the flip-effect.

0 nhận xét:
Đăng nhận xét